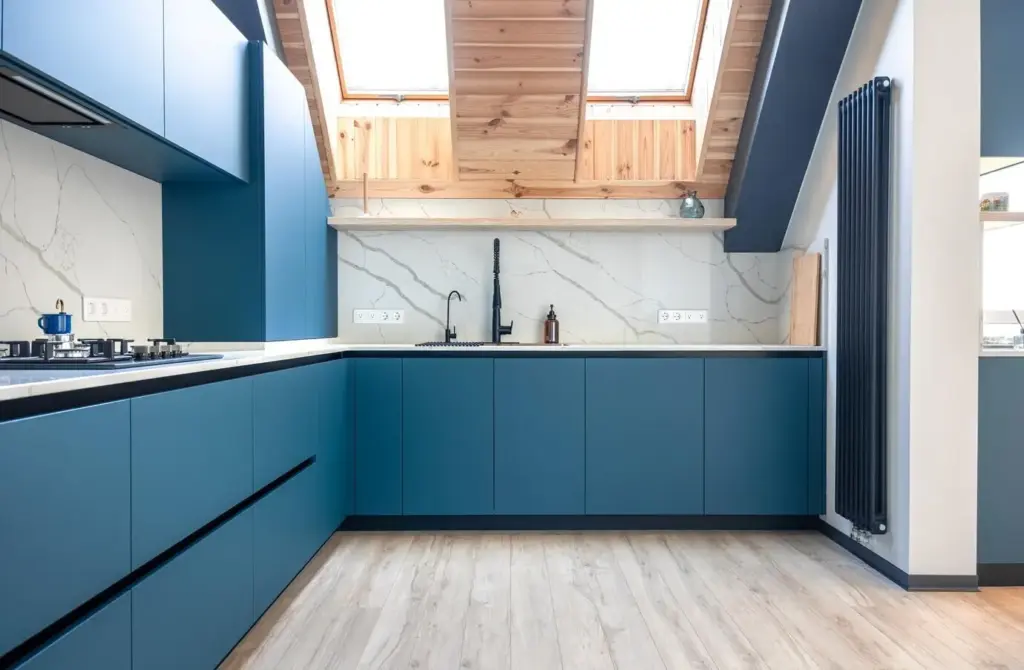
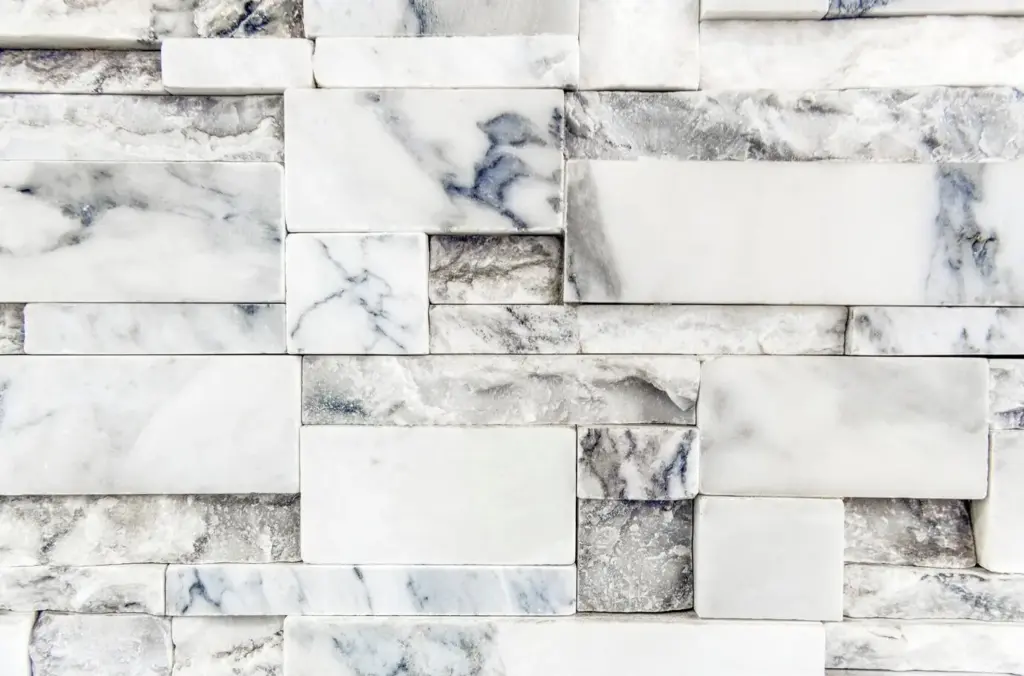
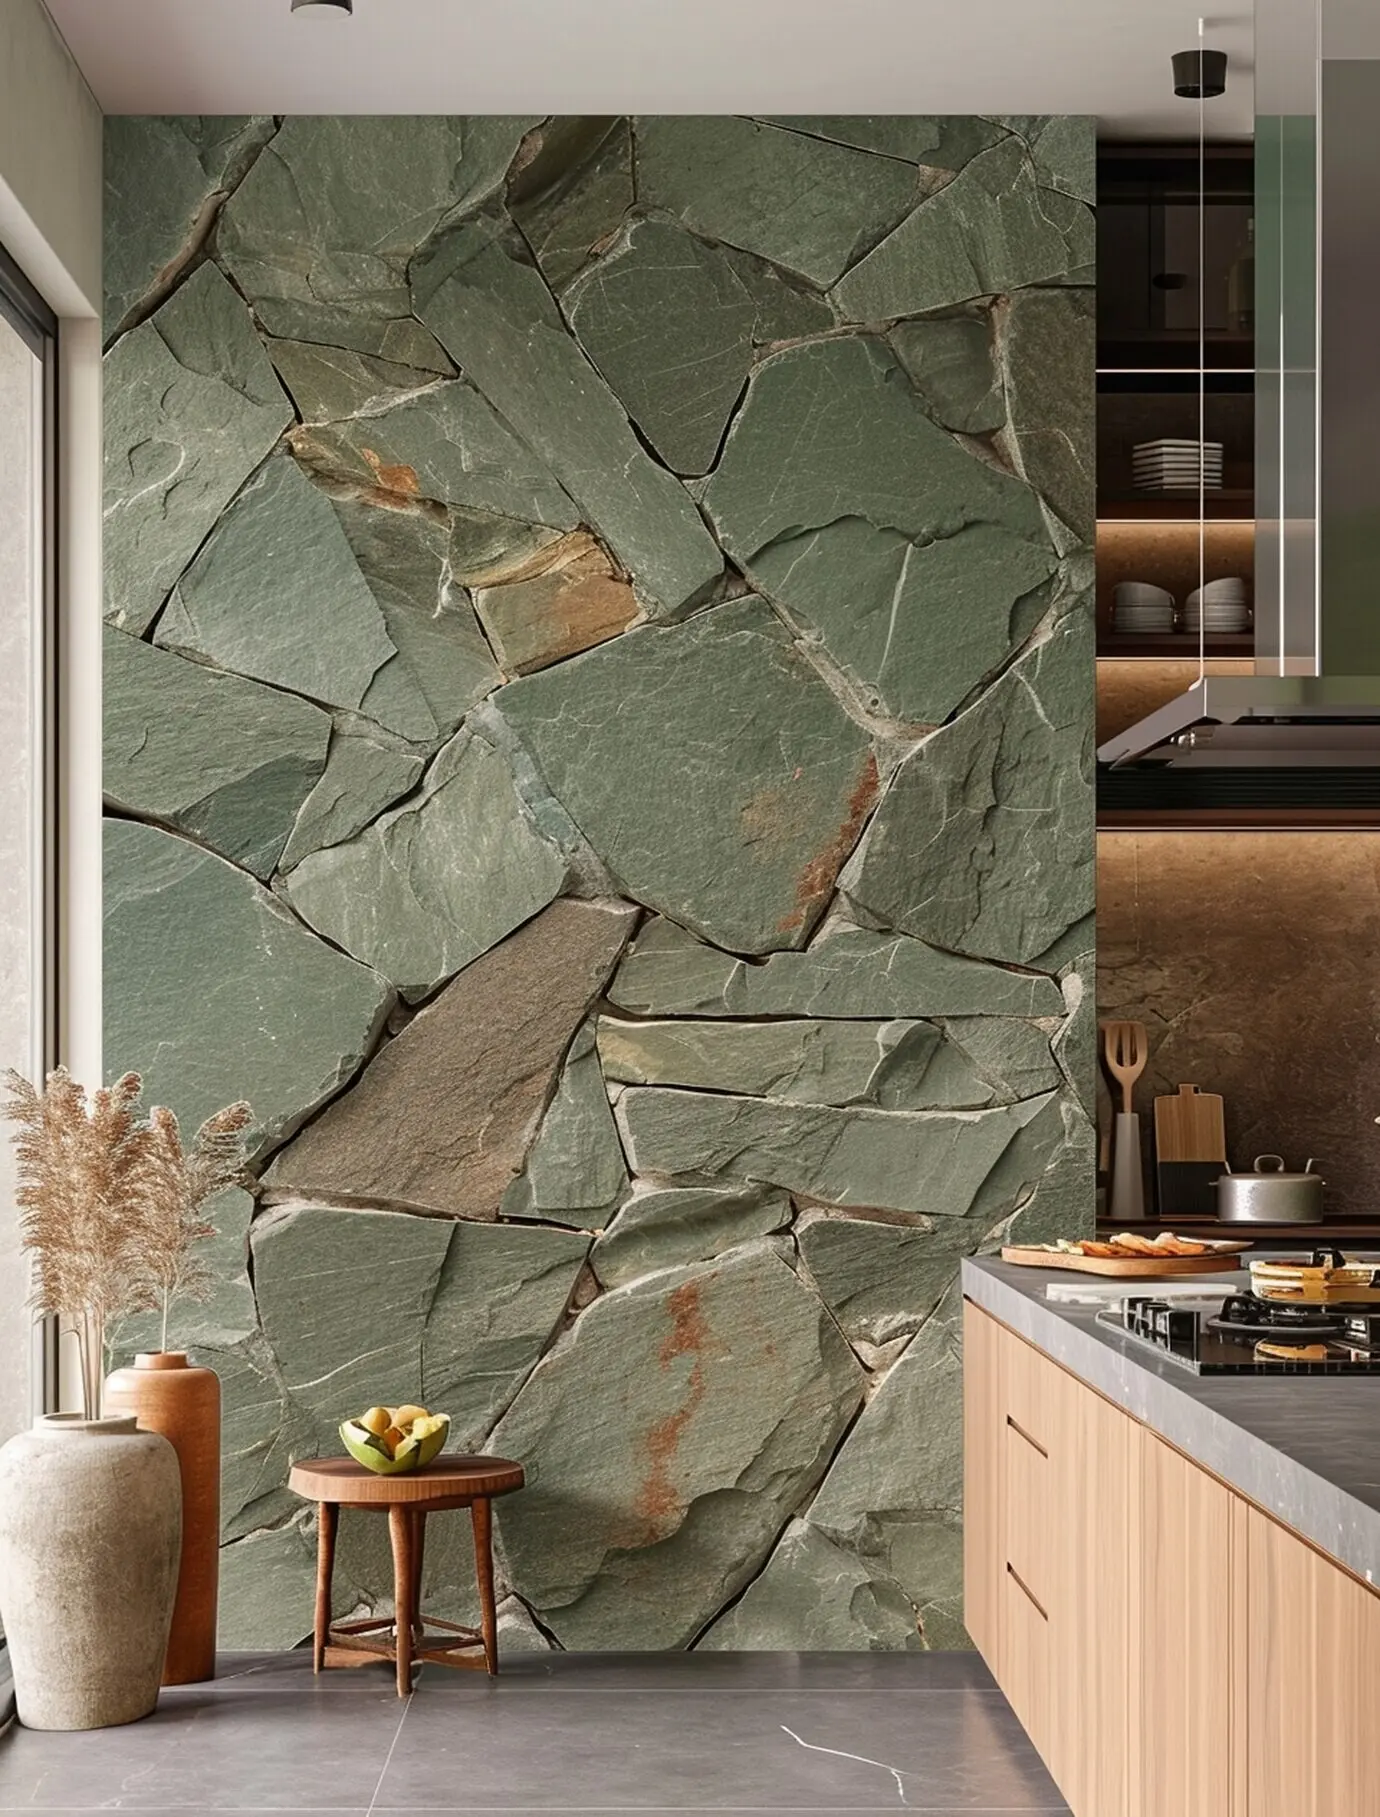
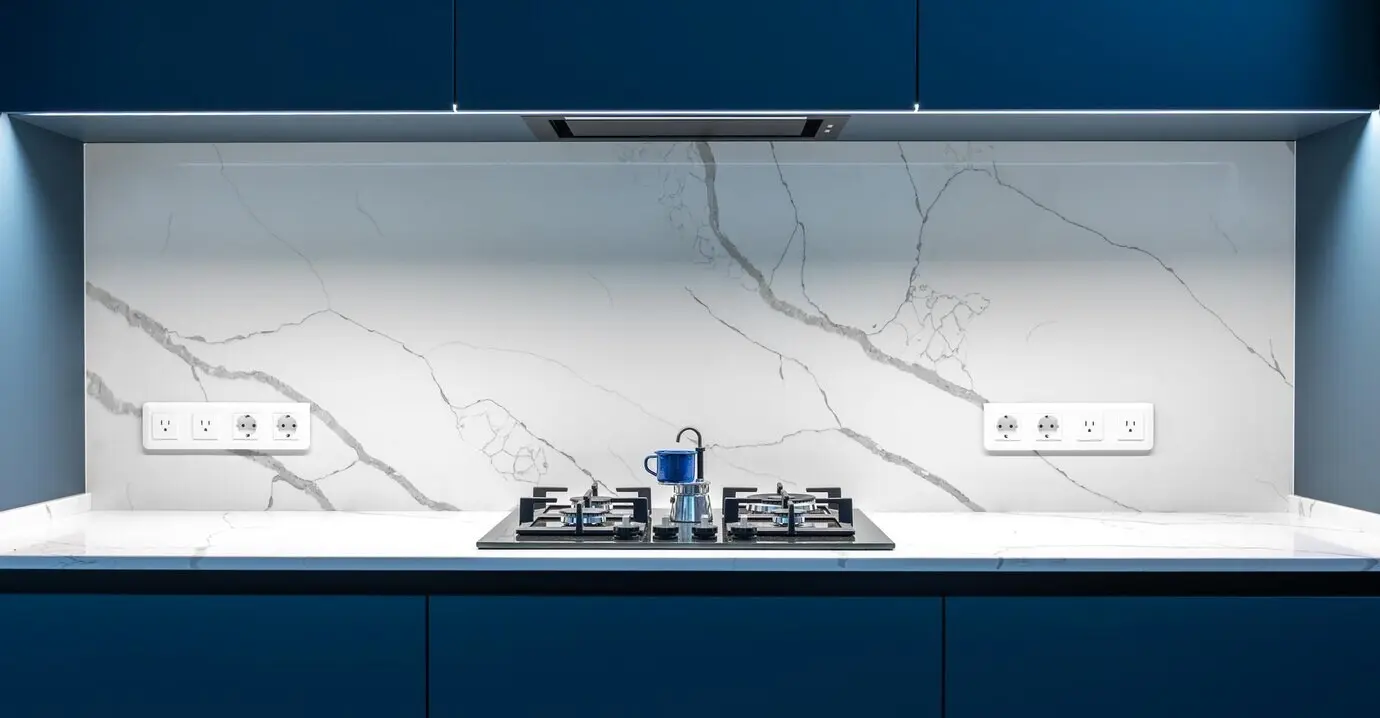
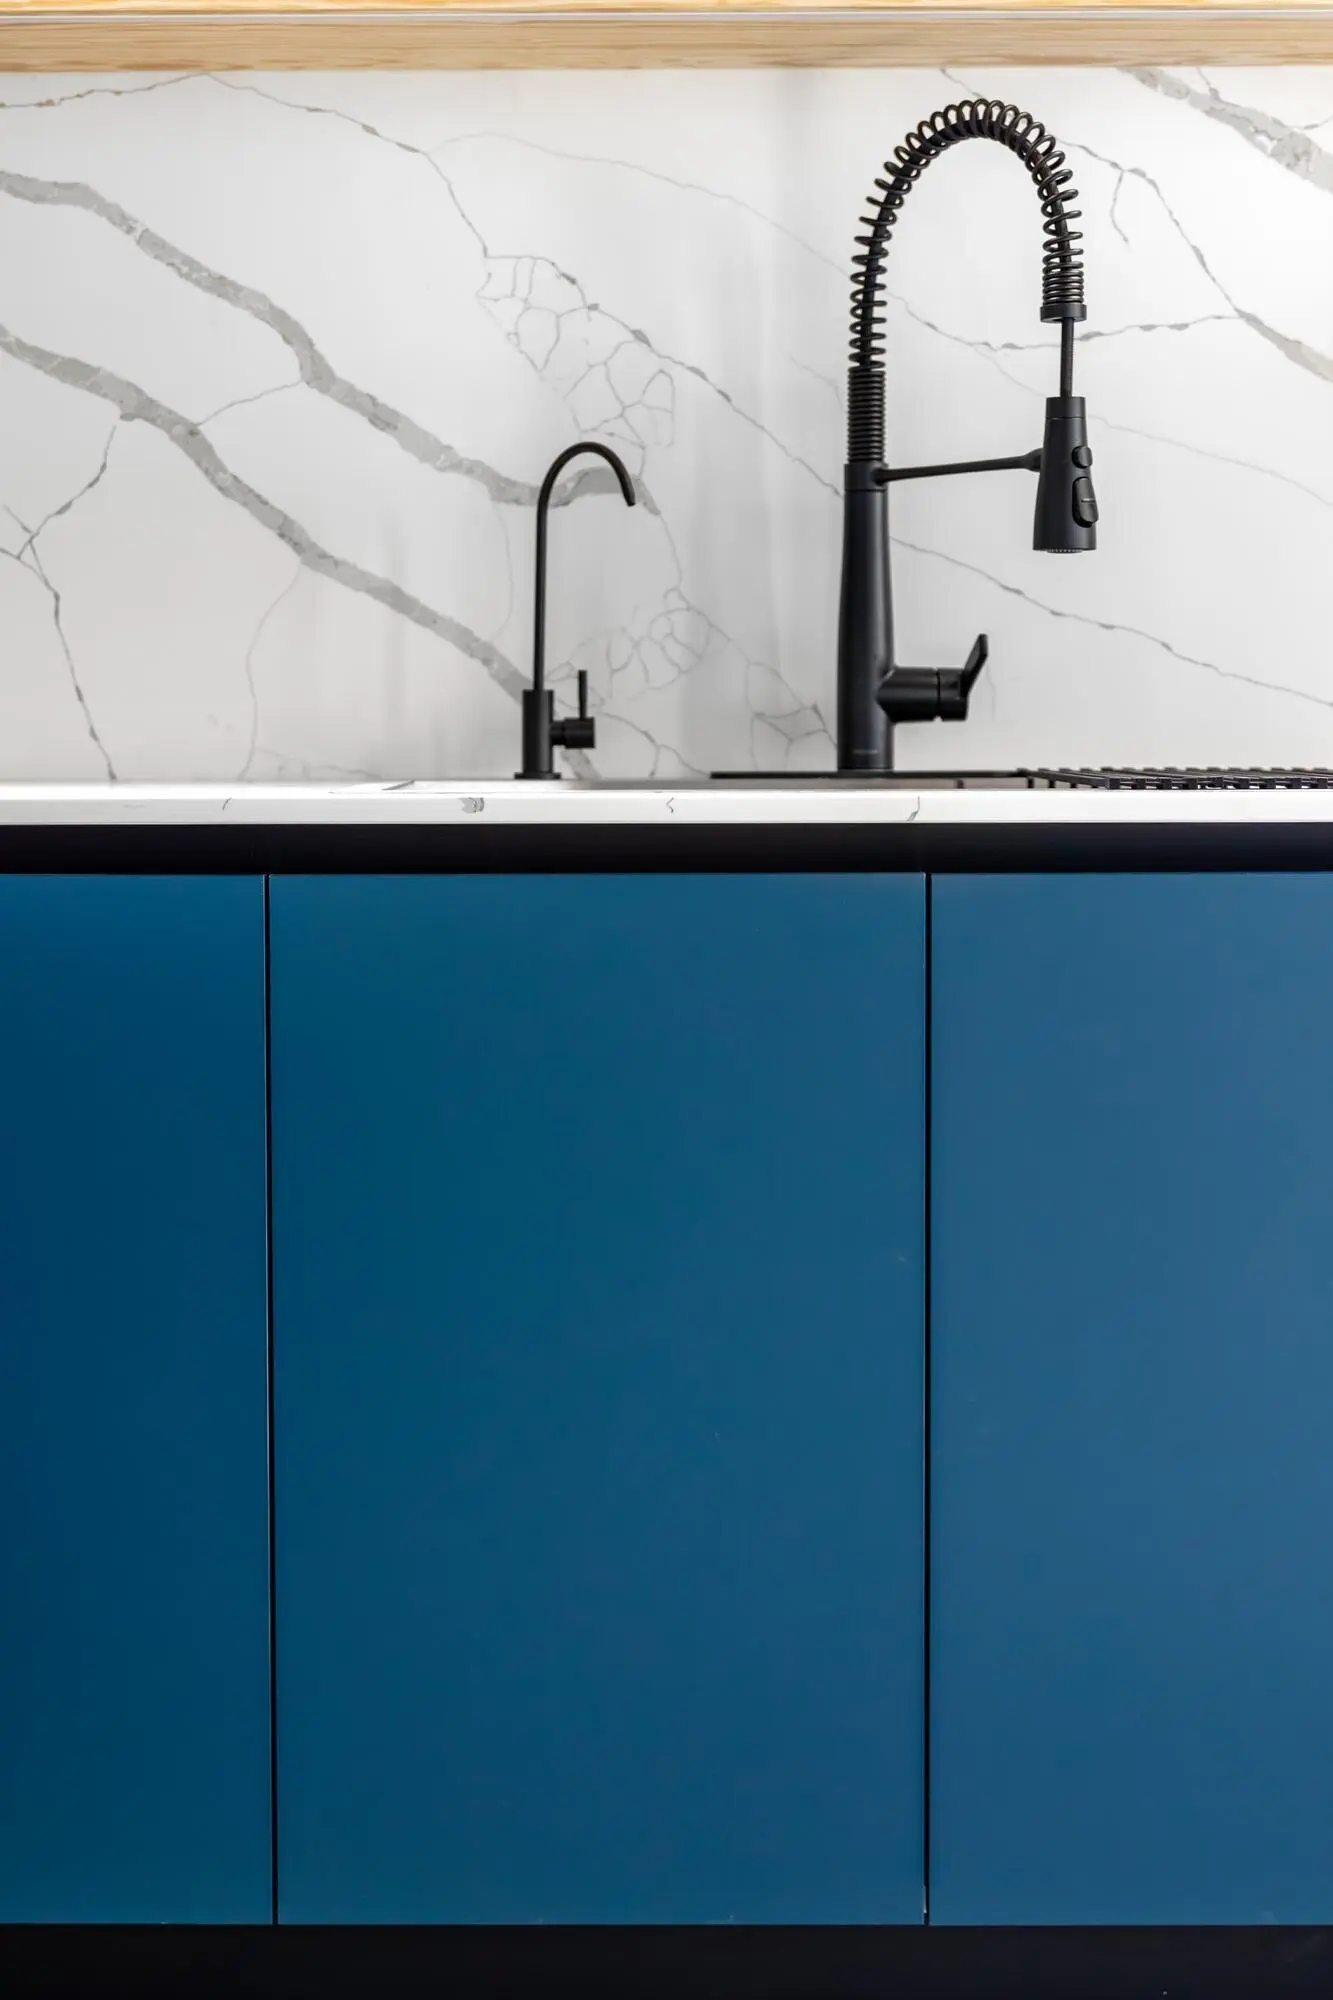
Use elongated 2x8 or 3x12 tiles to stretch the eye, snapping a 45-degree centerline to keep the zigzag straight. Dry-lay a test field, cut partials together for mirrored ends, and stop at clean borders. A grout tone close to the tile softens visual noise. Finish with a picture rail or slim trim so edges look intentional rather than abrupt.
Stacking tiles vertically adds contemporary height and quiet rhythm, especially in galley kitchens needing lift. Keep joints consistent with spacers, align columns to major appliances, and choose satin or matte finishes to reduce glare. Light grout emphasizes cadence; tone-on-tone relaxes it. An upper termination strip or painted line creates a gallery-like edge that frames shelves and range hoods elegantly.
Create a framed rectangle behind the cooktop using mitered trim or contrasting tile, then keep surrounding fields minimal. This concentrates budget where cameras linger while reducing tile volume elsewhere. Maintain identical grout widths across frame and field, and align frame edges with cabinetry reveals for a custom-tailored effect. It reads curated, not busy, anchoring the whole wall composition.

Choose soft gray veining over stark contrasts; it hides cuts, blends outlets, and feels timeless against wood or painted cabinetry. Mix satin tile with matte counters for layered quiet. Reserve higher contrast for a narrow feature band, not the entire field. When budget forces painted tile, a quality bonding primer and mineral-pigment glaze add whispery movement that suggests quarried stone.

Introduce restrained sparkle through a single row of brushed-metal mosaics, a stainless edge trim, or a few glass inserts near the sink. These pinpoints catch task lighting and echo appliance finishes. Keep quantities small so shimmer feels intentional, not busy. Reflectivity paired with calm field tile creates the expensive-looking play between light and shadow seen in boutique showrooms.

Affordable LED bars or tape with high CRI dramatically improve perceived material quality. Install continuous runs, hide diodes behind the lip, and choose warm 2700–3000K to flatter food and stone patterns. Add dimmers for evening mood and brighter day prep. Good lighting reduces harsh shadows at grout lines, making even basic tile read smoother and more luxurious.
Check architectural salvage, contractor clearance aisles, online marketplace leftovers, and outlet centers near distribution hubs. Ask tile shops about discontinued lines and field-only cartons. For peel-and-stick, look for thicker wear layers and multipack discounts. Bring measurements and photos to compare tones on the spot. Join local community groups where builders unload extras quickly at dramatic markdowns.
Rent a wet saw for one weekend, batching cuts efficiently after careful dry layouts. Use a score-and-snap for straight porcelain strips, reserving the saw for L-cuts and outlets. Share specialty tools with neighbors doing projects. Blue tape, spacers, nippers, and a sharp utility knife cover most tasks. Spend modestly on a good notched trowel; it pays dividends in adhesion.
Measure twice, then add ten percent overage for cuts and future repairs. Confirm return policies, dye lots, and box batch numbers. Pre-plan outlet extensions and faceplate color so they disappear. Protect counters during demo to avoid replacement surprises. A short mockup board tests grout colors before committing. Preventing small missteps keeps the overall investment pleasantly predictable.
All Rights Reserved.