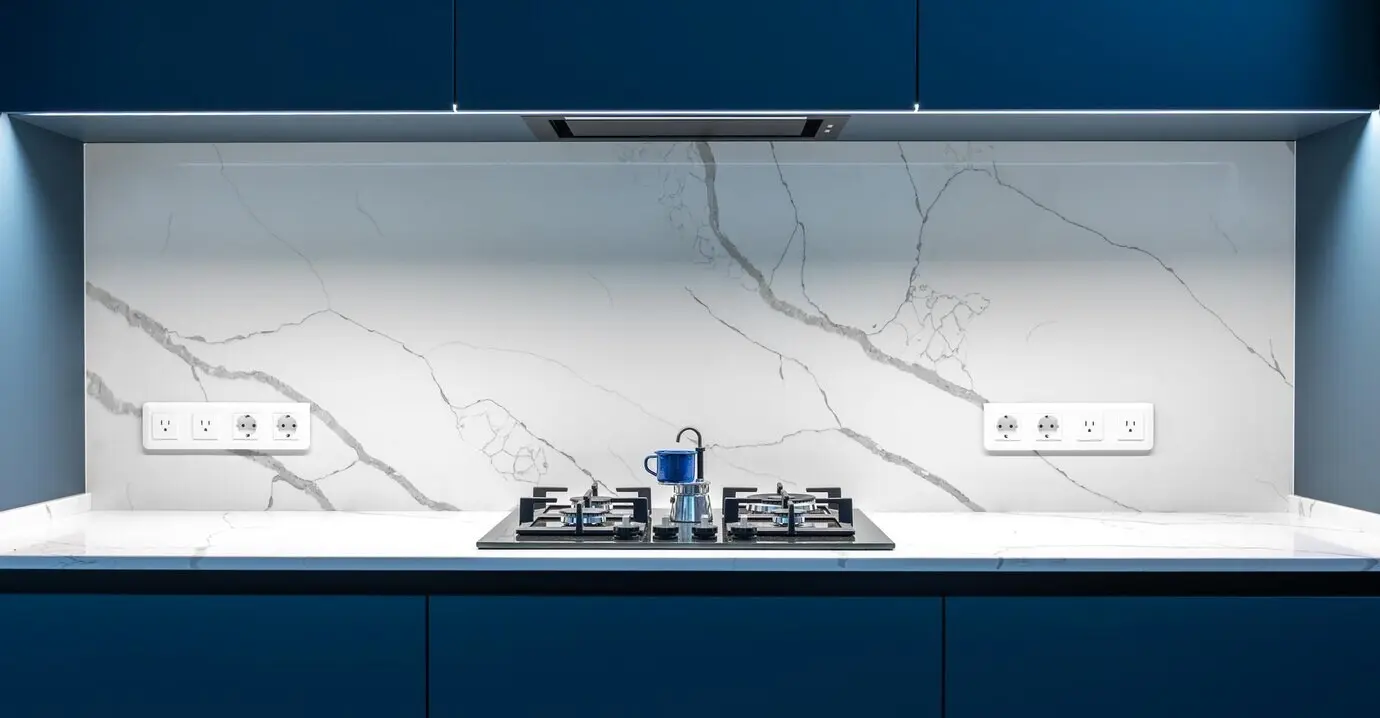
Your First Kitchen Backsplash—Made Simple and Satisfying

Welcome! Today we’ll guide you through step-by-step DIY backsplash installation for beginners, turning nerves into know-how with clear planning, straightforward techniques, and cheerful encouragement. Learn how to measure, prep, set tile, grout, and polish, while avoiding common mistakes. Along the way, quick stories from real kitchens reveal how small adjustments save the day. Ask questions, share progress photos, and subscribe for helpful checklists, because confidence grows quickly when every action is explained and every finish looks bright.

Measure Twice, Enjoy Forever

Accurate measuring turns guesswork into calm progress. Capture total linear feet, record backsplash height, and note obstacles like outlets, windows, or corners. Mark a level reference line and consider a temporary ledger board, so the first row sits perfectly straight and every pattern aligns beautifully.

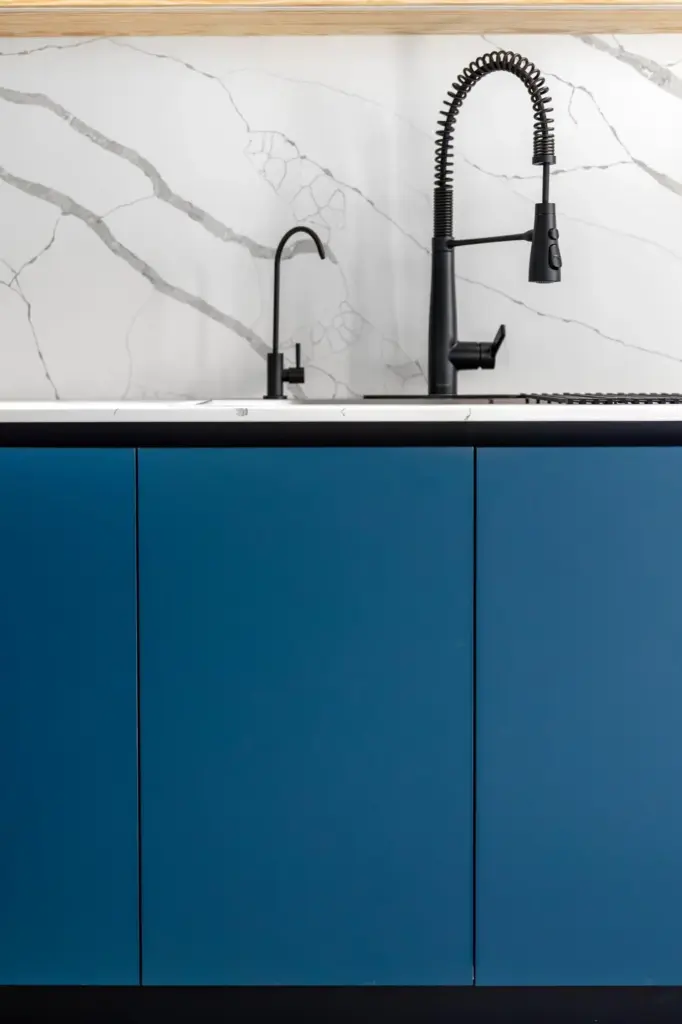
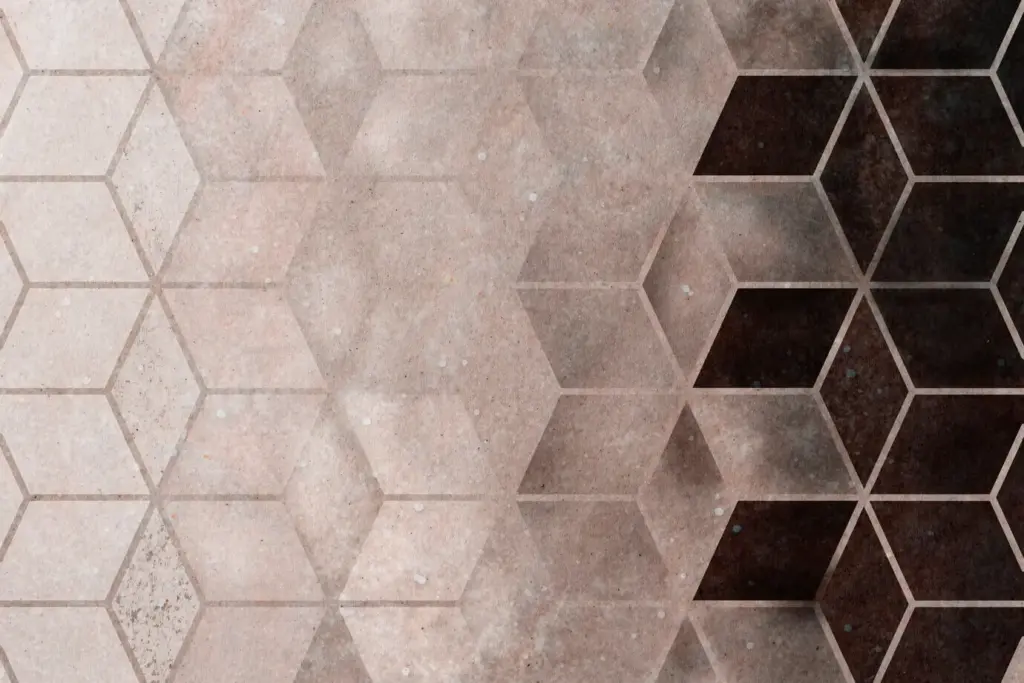
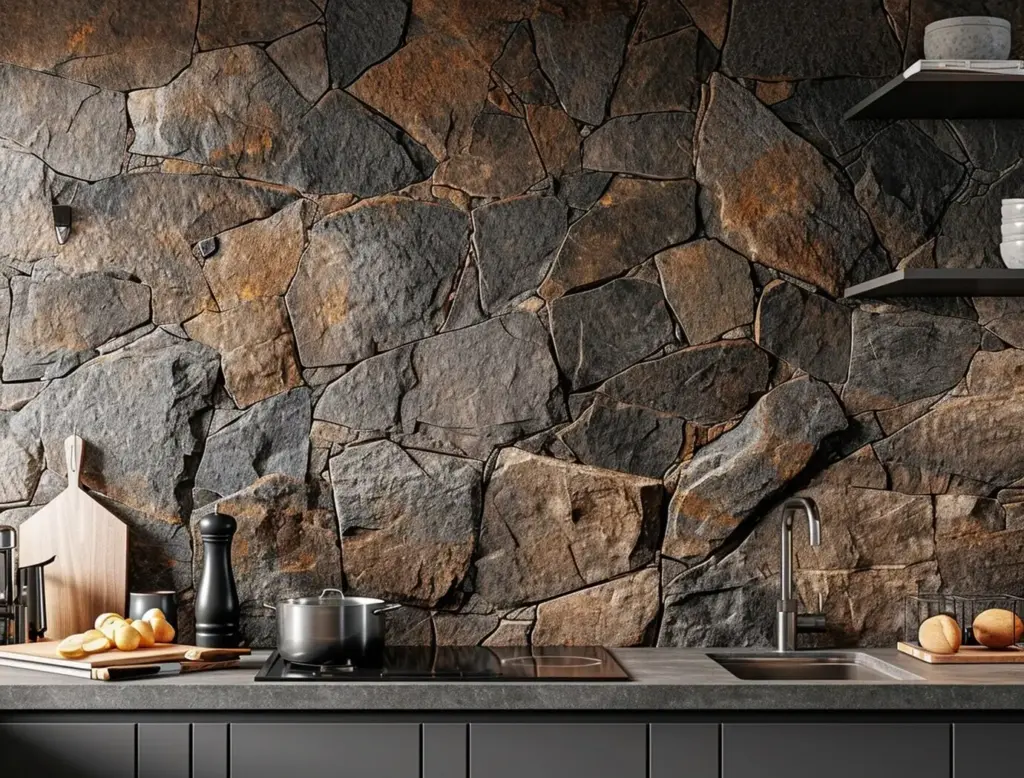
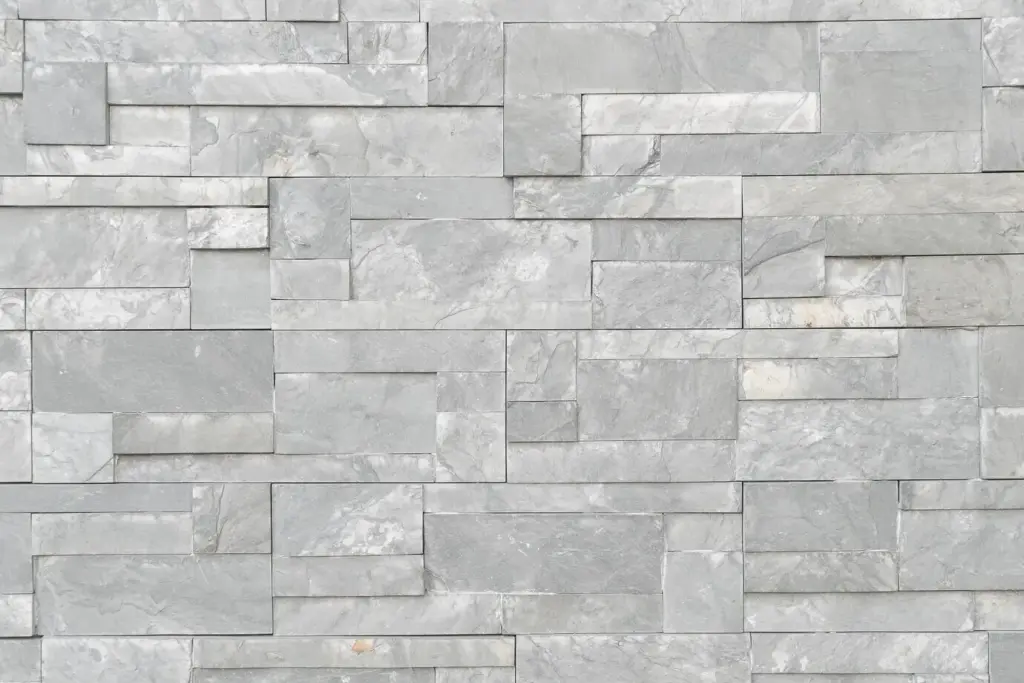
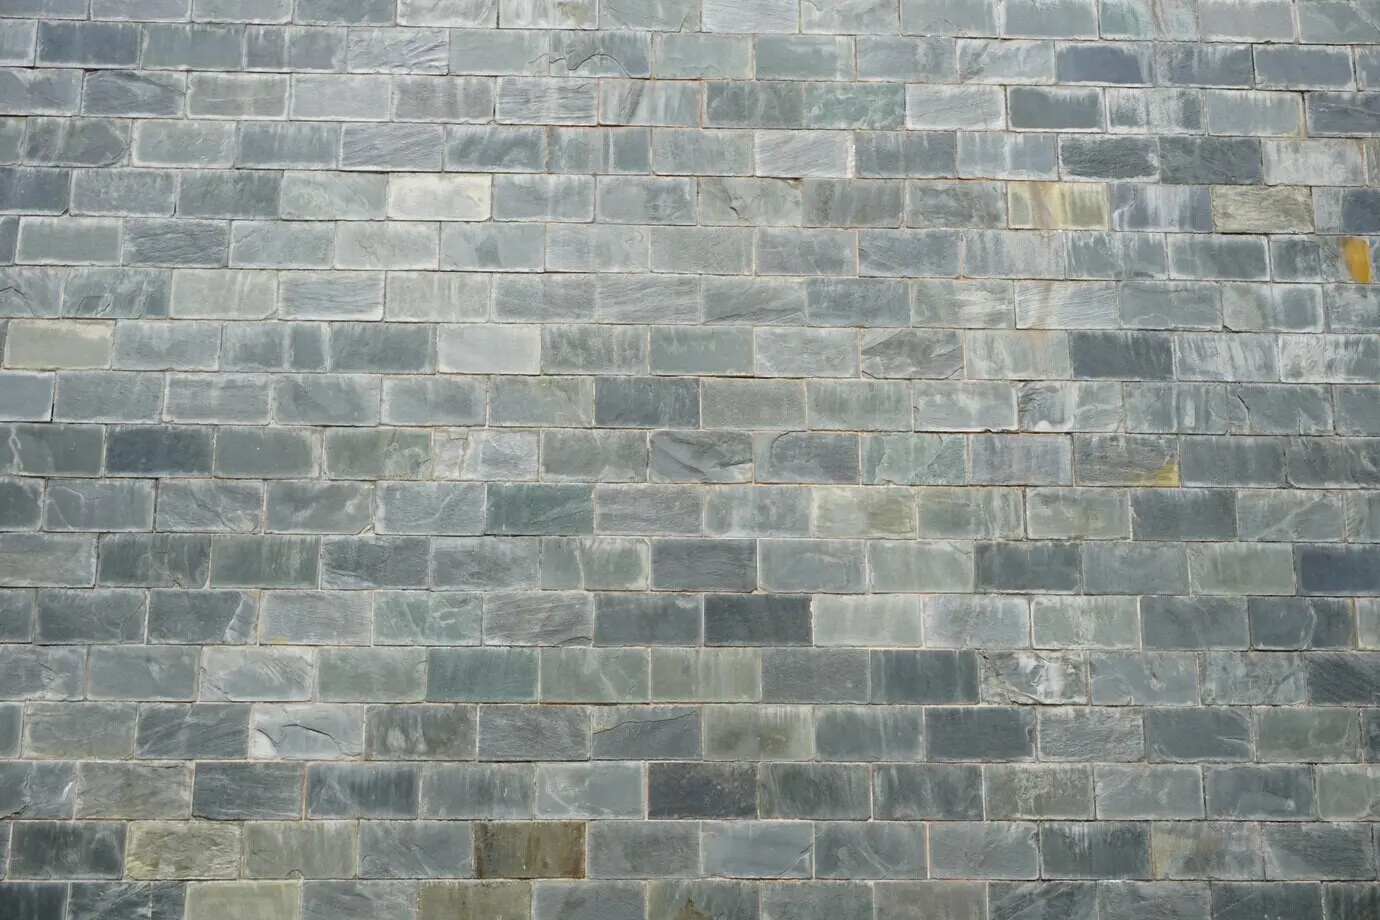
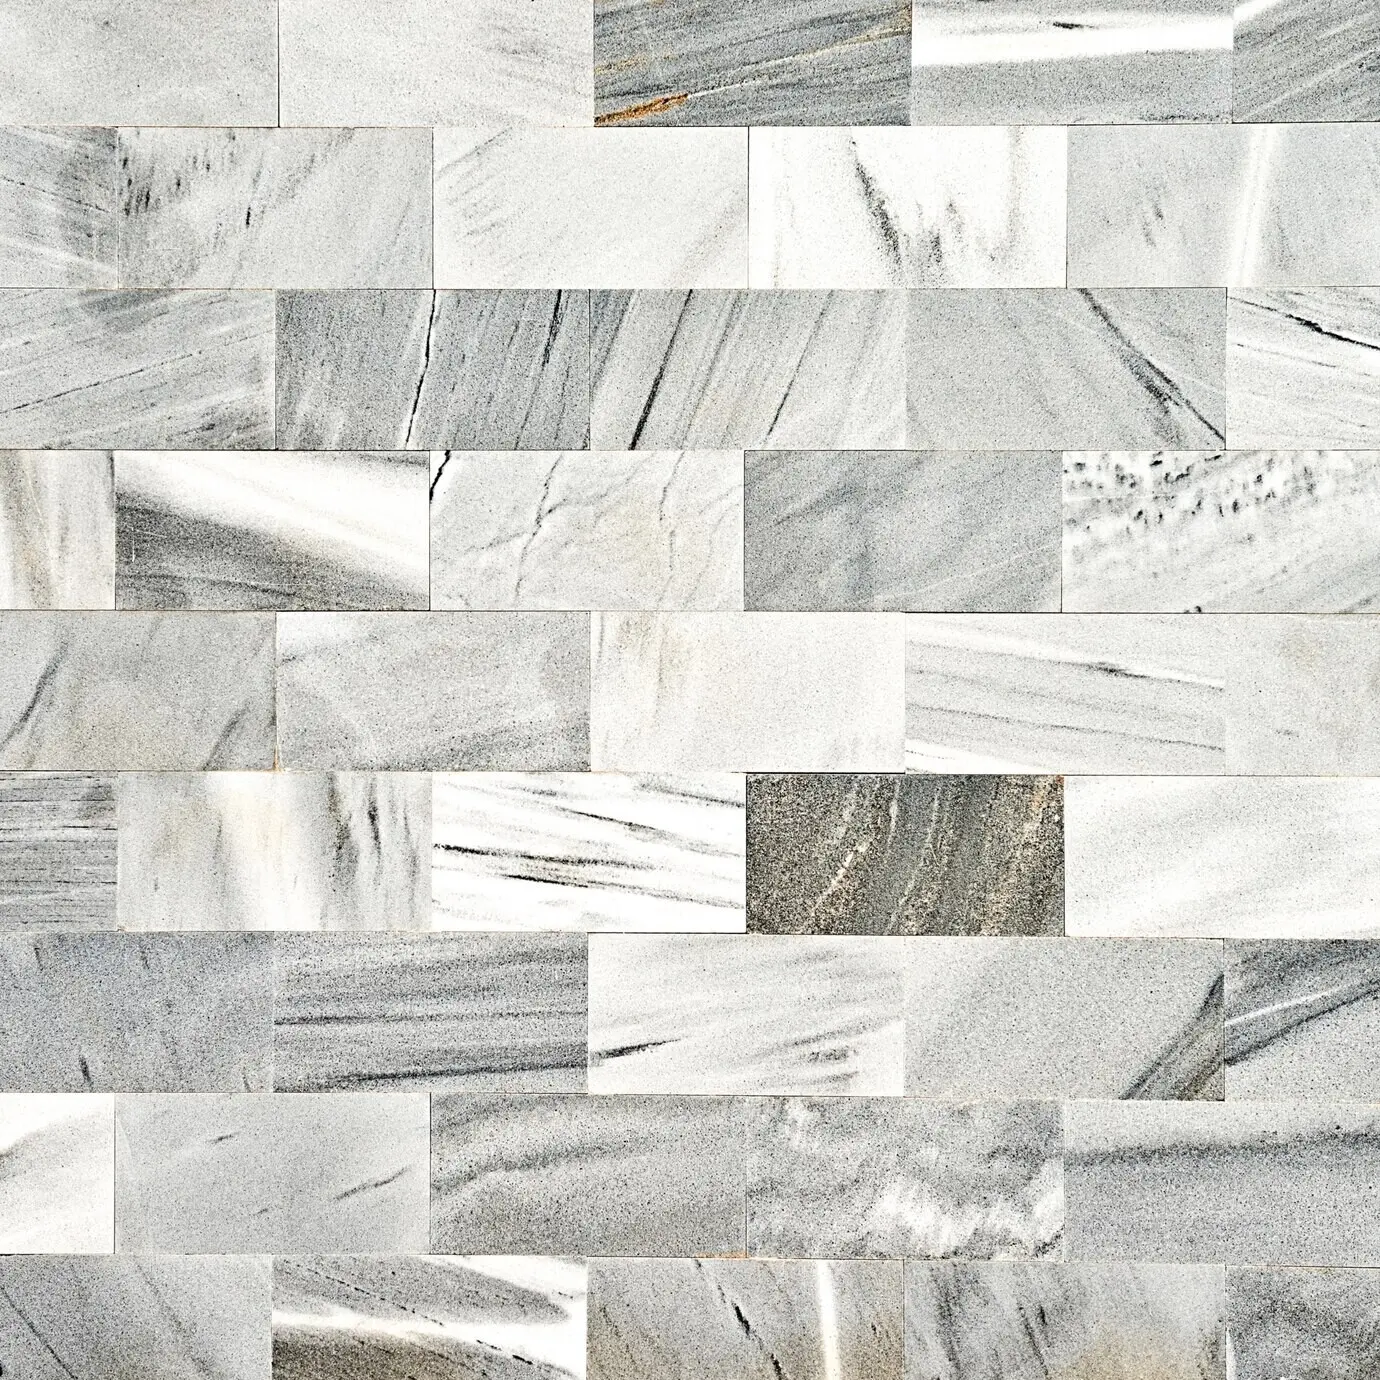
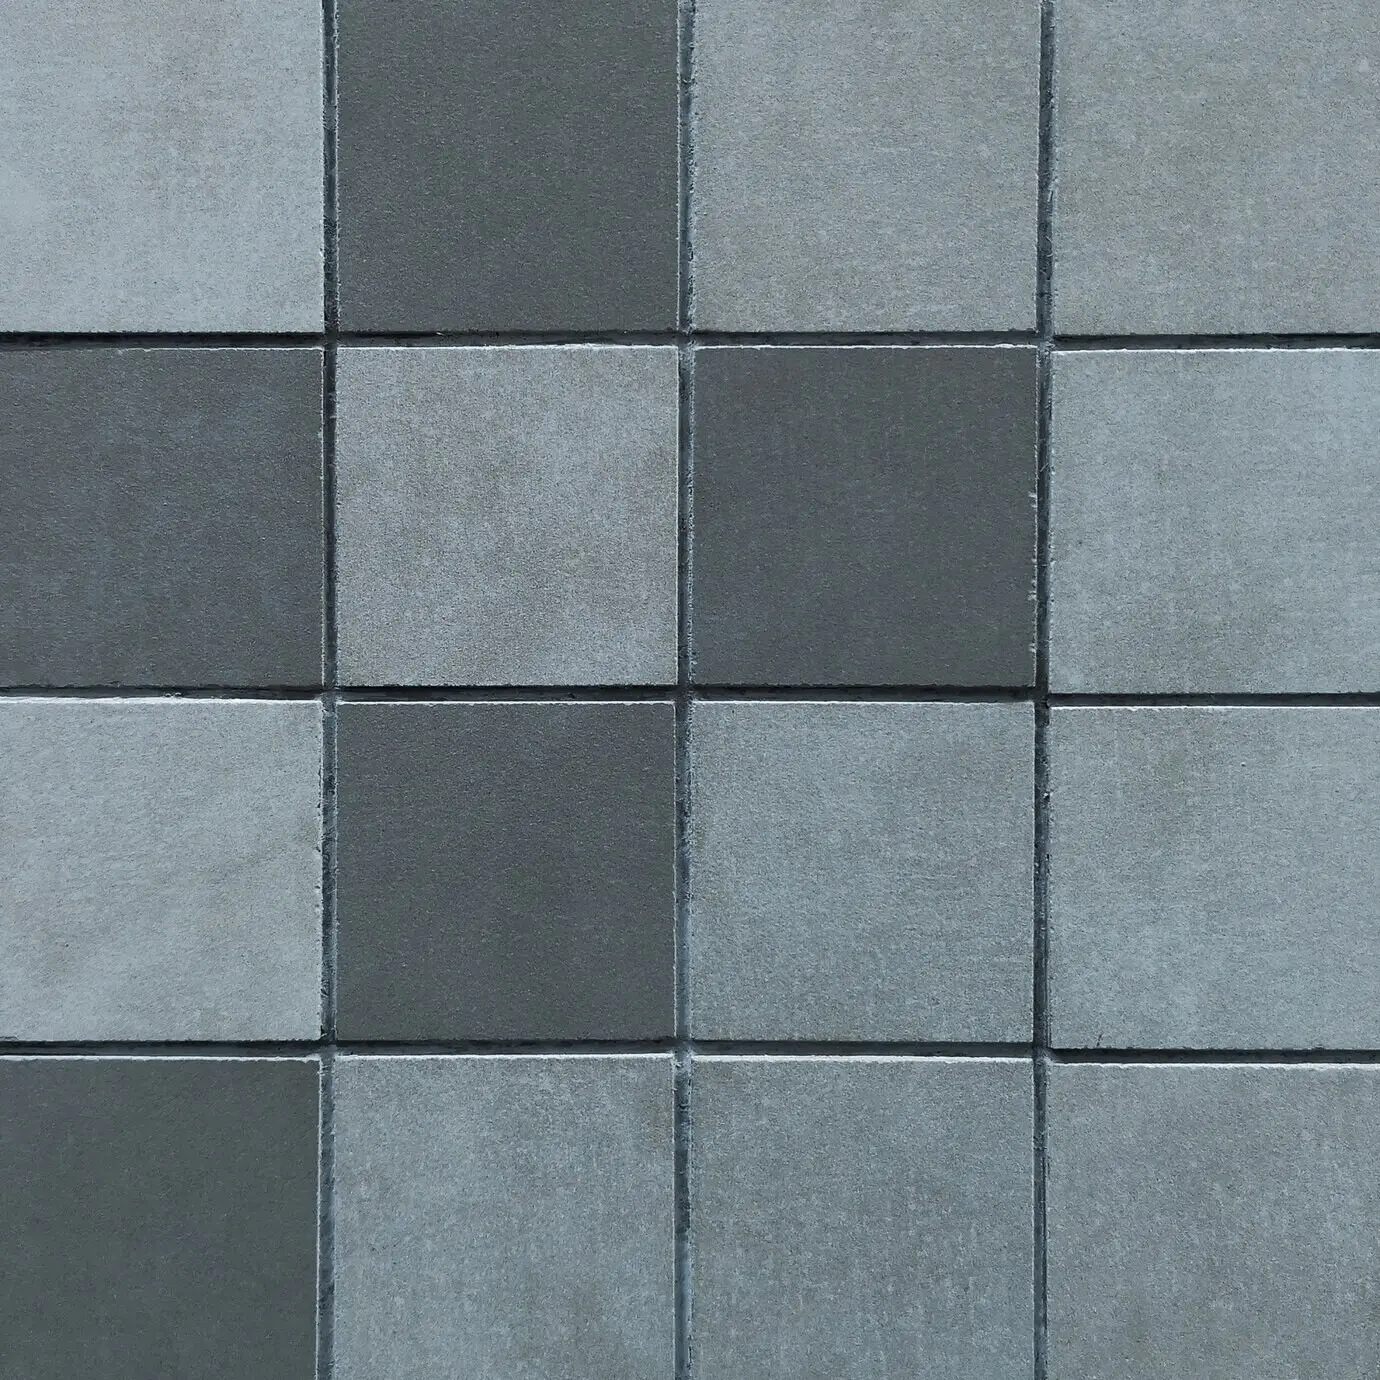
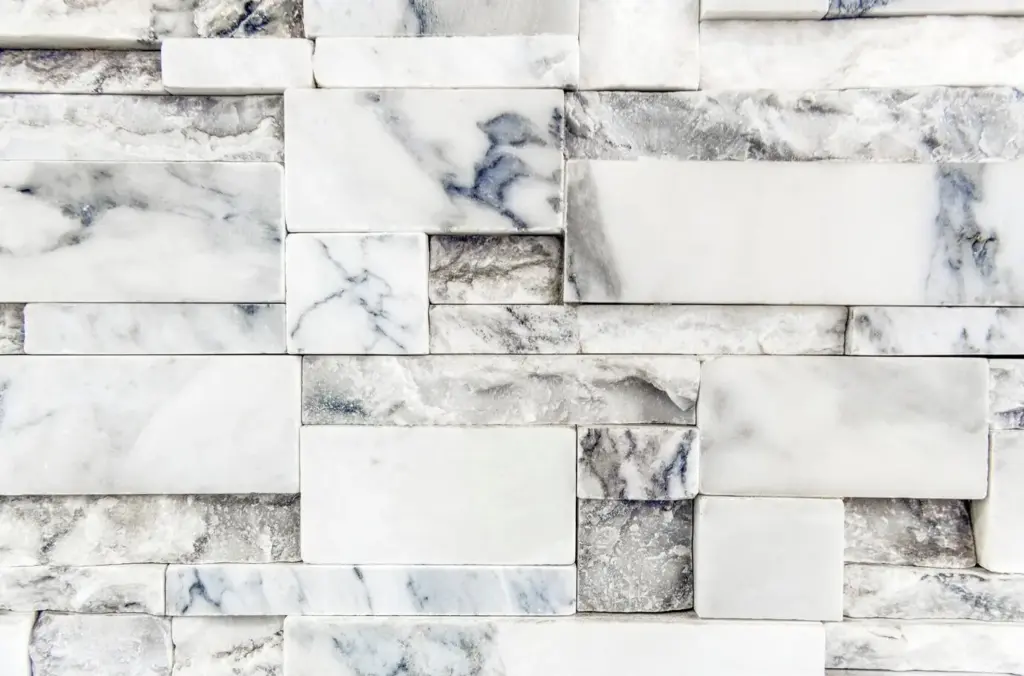
Choosing Tile, Pattern, and Color

Pick a tile that fits your lifestyle and space lighting, then decide on a pattern that matches your confidence. Subway, herringbone, or mosaic sheets each install differently. Hold samples against cabinets and counters at different times of day to confirm tone, texture, and visual rhythm.

How Much to Buy: Quantities, Overages, and Costs

Calculate square footage by multiplying width by height, then add ten to fifteen percent for cuts, breakage, and future repairs. Include trim pieces and edge profiles. Compare price per square foot and consider maintenance costs, so your final choice balances beauty, durability, and budget.

Tools That Make It Easy

Great tools reduce learning curves and deliver tidy lines. A manual tile cutter speeds straight cuts, while a small wet saw or snap cutter handles tougher materials. Add nippers, spacers, a notched trowel, levels, and protective gear, so accuracy, safety, and consistency support every step.
Keep safety glasses, hearing protection, and gloves nearby, especially when cutting glass or porcelain. Practice on a scrap tile before making visible cuts. Use the correct wheel for your cutter and set up outdoors if possible, reducing dust, noise, and stress while keeping measurements precise.
Choose mastic for most ceramic over painted drywall, or polymer-modified thinset for porcelain, stone, and humid zones. Pair sanded grout with wider joints and unsanded with delicate finishes. Epoxy offers stain resistance. Read manufacturer charts to confirm compatibility, working time, and necessary sealers for lasting results.
Clear counters, protect surfaces with rosin paper, and stage tools on a portable table. Keep clean water, sponges, and rags ready. Arrange tiles by lot and pattern direction. Good lighting plus a stable cutting station turns nervous starts into steady, satisfying progress across the wall.

Clean, Degloss, and De-grease

Backsplashes live near food and steam, so residue hides in plain sight. Scrub with a kitchen-safe degreaser, rinse thoroughly, and allow complete drying. Lightly sand glossy paint to reduce slip. Wipe with a tack cloth afterward, ensuring the surface welcomes adhesive without surprise contaminates.

Repair, Level, and Prime

Small divots telegraph through tile, and high bumps cause lippage. Use patching compound for holes, sand flush when cured, and address bowed drywall with careful feathering. Prime according to adhesive guidance, giving a uniform base that improves working time, bite, and long-term bond strength.

Map the Layout and Dry-Fit

Find the visual center and check how partial tiles land near edges and outlets. Snap or mark level guide lines. Dry-fit a few rows on the counter to confirm spacer size and pattern flow, preventing awkward slivers and last-minute compromises once adhesive is mixed.

Prep the Wall for Success

Preparation determines how well tiles bond and align. Remove grease with a degreaser, scuff glossy paint lightly, and fill dents. Where walls are uneven, skim-coat or sand high spots. Vacuum dust, then prime as recommended, so adhesive grips predictably and grout lines stay crisp for years.

Mix and Spread Adhesive the Right Way

Follow the mixing ratio, then let thinset slake if required, re-stirring before use. Hold the notched trowel at forty-five degrees, comb in straight lines, and back-butter large or uneven tiles. Work in small sections to maintain tack, ensuring tiles set firmly without sliding.

Place, Press, and Space

Start from a ledger or the most visible line, placing full tiles first. Insert spacers consistently and check with a small level every few rows. Use leveling clips if needed. Clean squeeze-out immediately, keeping joints open for grout and surfaces spotless for beautiful reflections.

Cutting Around Outlets and Edges

Turn off power, remove cover plates, and plan cuts so tile edges extend slightly under them. Use a wet saw for L-cuts or a grinder with a diamond blade outdoors. Finish edges with trim or bullnose, giving transitions a polished, safe, and durable appearance.

Grout, Seal, and Shine

Grouting pulls everything together, revealing the pattern you imagined. Mix to peanut-butter consistency, pack joints firmly, and wipe diagonally. After curing, seal porous tile or grout as recommended. Caulk movement joints, then buff surfaces for a clean sparkle that invites celebratory photos and compliments.

Apply Grout Like a Pro

Work small sections, holding the float at a steep angle to press grout deep. After initial set, wipe with a damp, well-wrung sponge, rinsing frequently. Avoid over-washing. Keep joints even, protect edges, and allow proper cure time before sealing or exposing to routine cleaning.

Seal and Caulk for Longevity

Penetrating sealer protects porous materials from stains, while topical products add sheen. Follow label timing and ventilation guidance. At changes of plane, use color-matched silicone rather than grout. These flexible joints handle movement, preventing hairline cracks and preserving crisp lines around countertops, corners, and windows.

Final Cleanup and Photo-Worthy Finish

Remove haze with a microfiber towel once the slight film appears, repeating gently as needed. Polish metal trim and check for stray adhesive or grout flecks. Reinstall outlet covers on spacers. Step back, admire straight lines, and capture after pictures to celebrate skill, patience, and care.

Fixes, Care, and Creative Upgrades

Even careful projects meet surprises, and maintenance keeps beauty shining. We’ll cover correcting misaligned tiles, replacing a cracked piece, and smoothing lippage. Then learn gentle cleaning routines and protective habits. Finally, explore delightful upgrades like trim, shelves, and under-cabinet lighting that make everyday cooking spaces feel special.
Luleturerixalavifi
Privacy Overview

This website uses cookies so that we can provide you with the best user experience possible. Cookie information is stored in your browser and performs functions such as recognising you when you return to our website and helping our team to understand which sections of the website you find most interesting and useful.